As a reputable supplier of Fence Semi Trailers, I understand the importance of maintaining these essential transport vehicles. One common maintenance task that semi - trailer owners often face is replacing the fence panels. In this blog, I'll guide you through the process of replacing the fence panels on a semi - trailer, sharing professional insights and practical tips.

Why Replace Fence Panels?
Fence panels on semi - trailers are exposed to various environmental factors and physical impacts during transportation. Over time, they can become damaged, corroded, or worn out. Damaged fence panels not only affect the aesthetics of the trailer but also compromise its functionality. For example, a broken panel may allow cargo to shift or fall out during transit, posing a safety risk on the road. Therefore, timely replacement of fence panels is crucial for ensuring the safety and efficiency of your semi - trailer.
Tools and Materials You'll Need
Before you start the replacement process, gather the necessary tools and materials. Here's a list to get you started:
- Measuring Tape: To measure the dimensions of the existing fence panels accurately.
- Welding Equipment: If the panels are welded to the trailer frame, you'll need a welder for removal and installation.
- Screwdriver or Drill: For panels that are attached with screws or bolts.
- New Fence Panels: Make sure to choose panels that are compatible with your semi - trailer. You can find a wide range of high - quality Fence Cargo Trailer panels suitable for different types of semi - trailers on our website.
- Safety Gear: This includes safety glasses, gloves, and a welding mask if using welding equipment.
Step 1: Inspect the Trailer
Begin by thoroughly inspecting the semi - trailer to assess the condition of the fence panels. Look for signs of damage such as cracks, holes, or rust. Check the attachment points to determine whether the panels are welded, screwed, or bolted to the frame. Make a note of any additional damage to the trailer frame that may need to be addressed during the replacement process.
Step 2: Measure the Panels
Use a measuring tape to measure the length, width, and height of the existing fence panels. Take precise measurements to ensure that the new panels fit perfectly. Remember to measure the distance between the attachment points as well, as this will help you align the new panels correctly.
Step 3: Remove the Old Panels
The method of removing the old panels depends on how they are attached to the trailer frame.
- Welded Panels: If the panels are welded, use a welding torch to cut the welds. Make sure to wear appropriate safety gear, including a welding mask and gloves, to protect yourself from sparks and heat. Once the welds are cut, carefully remove the old panels from the trailer frame.
- Screwed or Bolted Panels: Use a screwdriver or drill to remove the screws or bolts holding the panels in place. Keep the removed fasteners in a safe place as you may need them for the installation of the new panels.
Step 4: Prepare the Trailer Frame
After removing the old panels, clean the trailer frame to remove any rust, dirt, or debris. Use a wire brush or sandpaper to smooth the surface of the frame where the new panels will be attached. If there are any damaged areas on the frame, repair them before installing the new panels. This may involve welding new sections or reinforcing weak spots.
Step 5: Install the New Panels
- Positioning: Carefully position the new fence panels on the trailer frame, aligning them with the attachment points. Make sure the panels are level and straight. You may need to enlist the help of a friend or colleague to hold the panels in place while you secure them.
- Attaching the Panels:
- Welding: If the panels are to be welded, use a welding machine to create strong, secure welds at the attachment points. Follow proper welding techniques to ensure the integrity of the welds.
- Screws or Bolts: Insert the screws or bolts through the holes in the panels and the trailer frame, and tighten them securely. Use a torque wrench to ensure that the fasteners are tightened to the correct specifications.
Step 6: Check for Alignment and Stability
Once the new panels are installed, check for proper alignment and stability. Make sure the panels are evenly spaced and that there are no gaps between them. Shake the panels gently to ensure they are firmly attached to the trailer frame. If necessary, make any adjustments to the alignment or tightness of the fasteners.
Step 7: Finishing Touches
After installing the new fence panels, you may want to apply a coat of paint or protective coating to prevent rust and corrosion. Choose a paint that is suitable for the type of metal used in the panels and the trailer frame. This will not only enhance the appearance of the trailer but also extend the lifespan of the new panels.
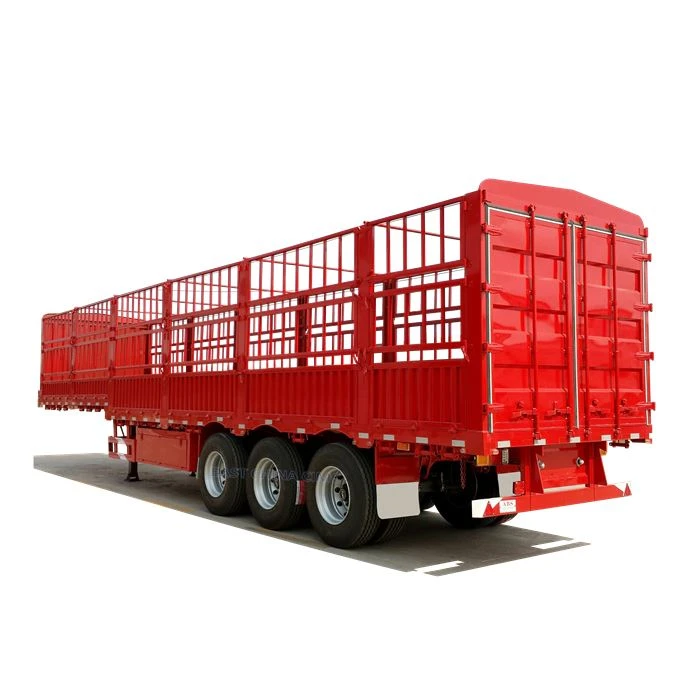
Different Types of Fence Semi Trailers
We offer a variety of fence semi - trailers to meet different transportation needs. For example, our 3 Axles Fence Cargo Semi Trailer is designed for heavy - duty cargo transportation, providing excellent stability and load - carrying capacity. The EAST CHINA CIMC Cargo Trailer is another popular option, known for its high - quality construction and reliability.
Contact Us for More Information
If you're in the market for new fence semi - trailers or need assistance with fence panel replacement, don't hesitate to contact us. Our team of experts is always ready to provide you with professional advice and support. Whether you're a small - scale transporter or a large - scale logistics company, we can help you find the right solutions for your transportation needs.
References
- "Semi - Trailer Maintenance Guide", Industry Standard Publications
- "Welding Techniques for Metal Structures", Metalworking Press